Key Control: Automating Key and Key Holder Audits
Auditing keys and key holders shouldn't take hours. Automating a key control system can streamline the process and ...
Read More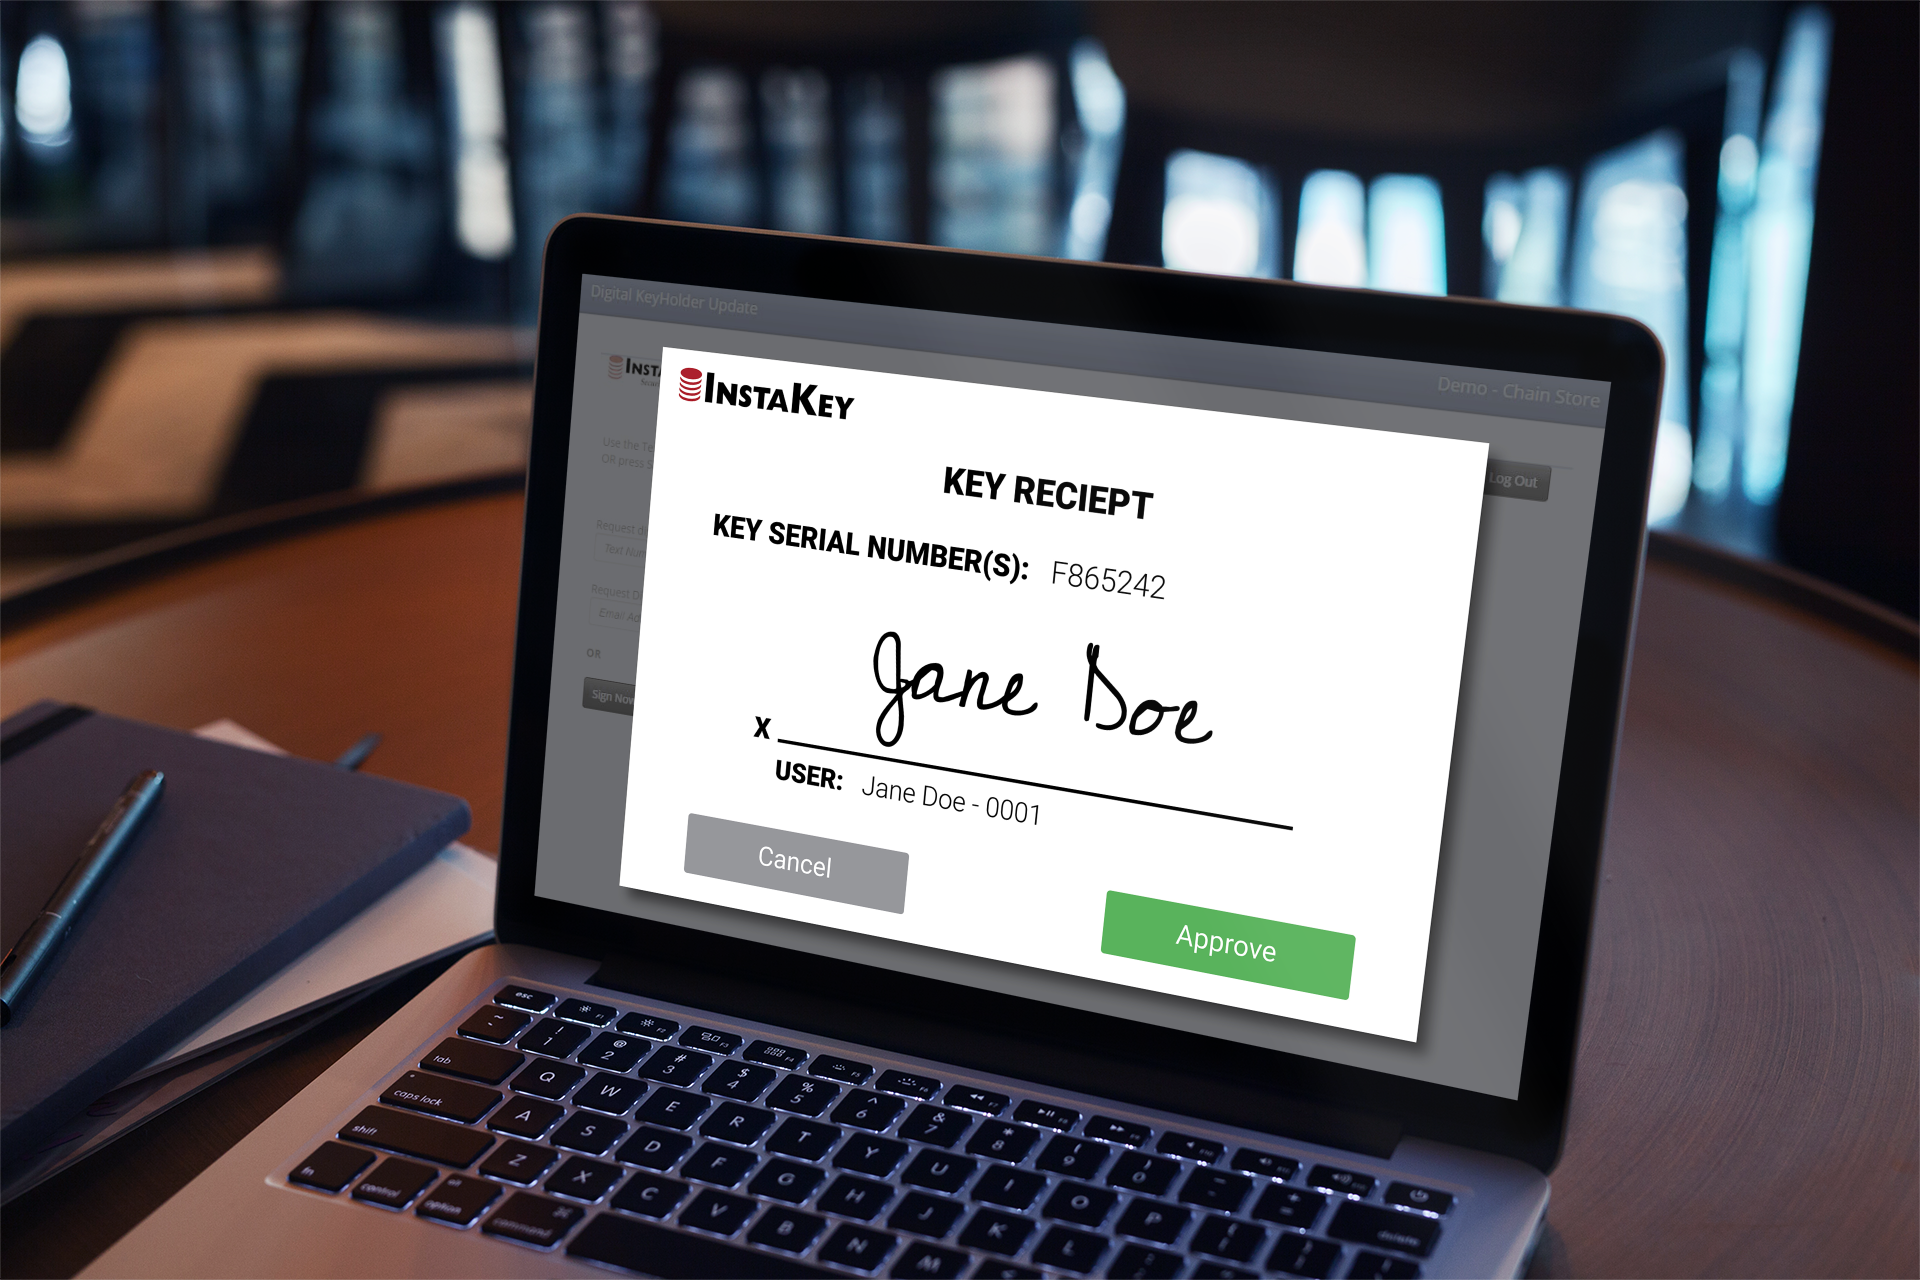
There are many ways digital key tracking software helps you keep track of keys, keyholders, doors, and locations easily and efficiently. Rather than wasting time with updating spreadsheets and calling a locksmith any time a key is lost or stolen, InstaKey’s SecurityRecords Key Management Software is a powerful tool you can use to streamline your key tracking practices. You can use it to order, assign, and update keys from anywhere with an internet connection.
If keys change hands, go missing, or get stolen, you could be in danger of a security breach. By using our Digital Key Holder Update tool, you’ll know exactly which people on your staff have keys and which locations those key holders can access.
Ready to get started? Here’s a simple, step-by-step guide to using the Digital Key Holder Update Tutorial.

Start by clicking the link provided by Client Services. You can log in by using your SecurityRecords login information. For Digital Key Holder Update only access, select Login via Email Access and fill in all the required fields. Be sure to use your business email address and not a personal email. You’ll receive an email with a link that will take you to the Digital Key Holder Update. You’ll be asked to enter your store number. From there, you can start setting up key assignments for your key holders.
To view all the keys being used at a specific location, click View Location Key Log. This lets you see if there are any keys that need to be assigned to someone. To start, find and select all of the keys you plan to work with.
If you need to assign a key to someone, select the key from the menu. You can find the person you want to assign that key to by selecting Search By Employee ID, or you can click Search Employees and type in their name.
If you’re assigning a key to a new person, select Add User, and fill out the fields under New User, and then click Assign Keys. Every key will need a signature from the person assigned to that key. You can select a specific location to view all the keys being used there by clicking View Location Key Log. You can collect signatures for the keys either by clicking Request E-Signature to send a request via text message or email or, if the new key holder is present clicking Sign Key Receipt. Once every key is assigned to someone and all, select Send Key Log Email to send a summary to all of the Users those keys were assigned to, as well as yourself.
Once you’ve collected all the signatures you need, you can view your key receipt for final review and approval by selecting Preview, then Save Receipt, or Save Without Preview to complete. Once approved, You’ll receive a pdf of the receipt to you and the signing key holder by email. You can select Reset Form if you need to assign more keys.
If you need extra help with the steps, here’s a video walkthrough of how to update your digital key holder.
To learn more about what InstaKey can do for you, or to get more helpful tips on how to run our key tracking software, click here to visit our client help center.